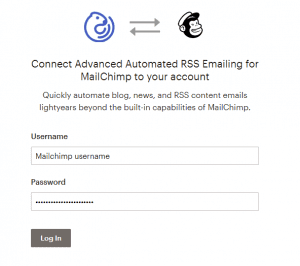
The first time you connect FeedOtter and MailChimp you will be prompted to setup a connection. This is a simple 1-click process thanks to the MailChimp Auth process.
Click the Connect to MailChimp button
Note: You can add multiple MailChimp connections to your account. This is perfect for consultants that want to manage multiple customers' automated emails.
Now that FeedOtter and MailChimp are connected it's time to select a MailChimp folder. This is where FeedOtter will put the automated emails it creates. This is only important from an organizational standpoint but it is required that you have at least 1 folder (we want you to stay organized).
Then select the Audience. This determines who will receive your MailChimp RSS email.
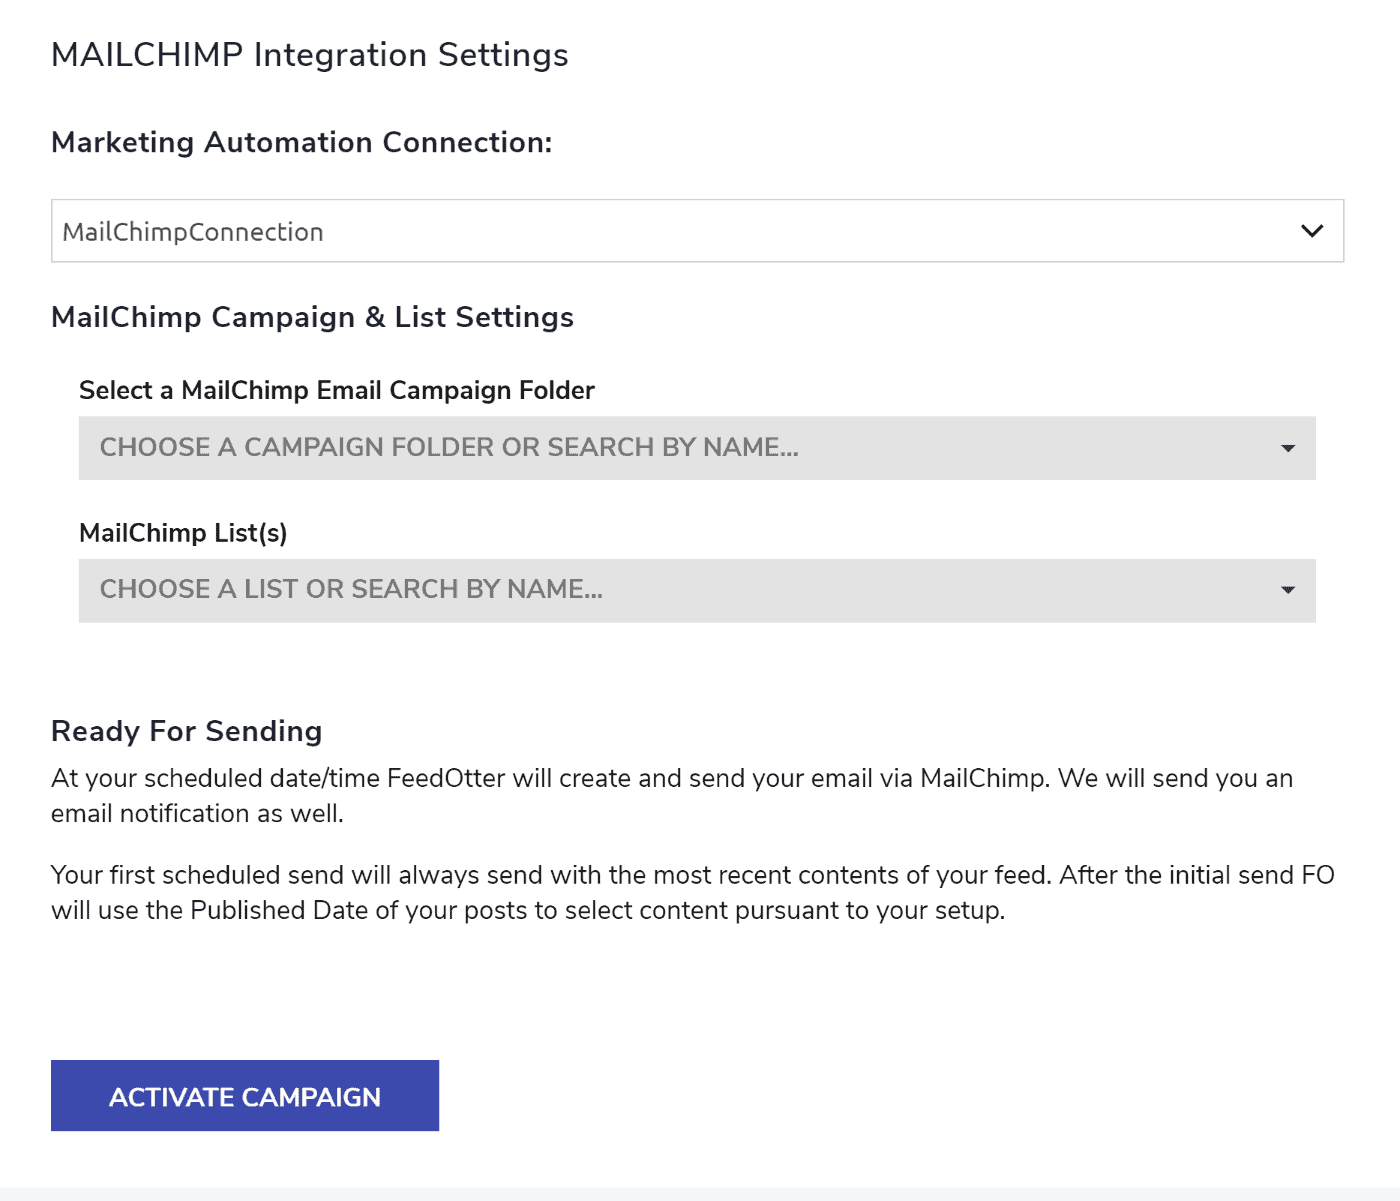
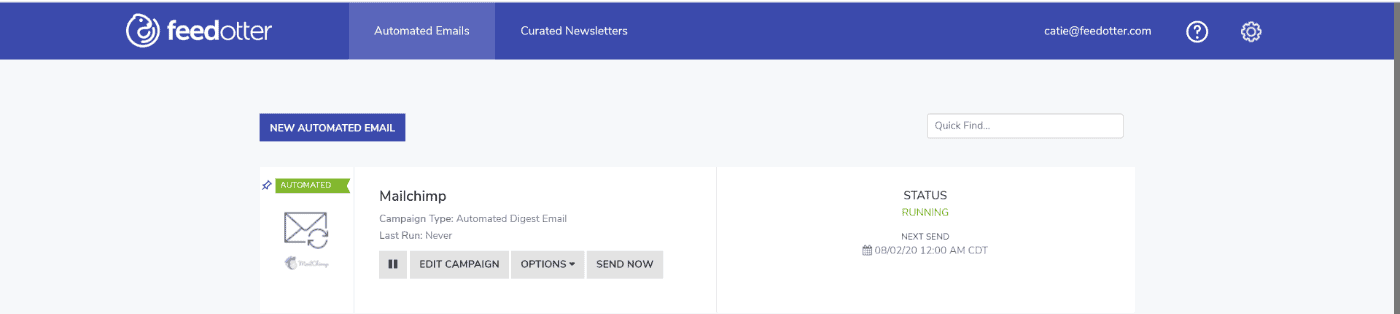
Upon clicking the Save and Publish button, FeedOtter will start your automated email campaign. You will be returned to the FeedOtter dashboard where your campaign is visible.
Pay special note to the “Next Send” information as this will tell you when your next scheduled send will occur. If you need to change anything, click the Edit button.