
While MailChimp is undoubtedly a great email marketing tool with increasingly greater tools as they expand their product offerings, their RSS email creation tool leaves much to be desired. It’s a tedious, time-consuming process, so for this post, I decided to create a MailChimp RSS campaign in both MailChimp and Feedotter to share my takeaways and findings then.
Creating a simple MailChimp RSS campaign for a blog digest took me about three hours — at a minimum — and was increasingly frustrating. First, I had to figure out how to manipulate the HTML to add my brand’s font, which took some trial and error due to my unfamiliarity with RSS coding.
Then came the images — they weren’t automatically included in the post as I had thought and hoped. So I Googled “how to add RSS image merge tag in MailChimp,” found a MailChimp support article, and then found the merge tag I needed and inserted it into my campaign — and then discovered another issue.
The images were pulled based on the size of the thumbnail in my CMS, and that overrode the HTML I told MailChimp — and the thumbnail size in my CMS was a bit large, to say the least.
So I then had to go to my CMS, download and resize my thumbnail images, and then reupload them to the post. It was a laborious task. There were quite a few other hiccups I encountered along the way, but three hours later, I finally had my blog digest draft ready to go.
For the second part of my research/test, I created a MailChimp RSS campaign with Feedotter — and was done in less than 20 minutes. So I decided to take my findings and share how you can set up a MailChimp RSS campaign with Feedotter — and hopefully save you hours!
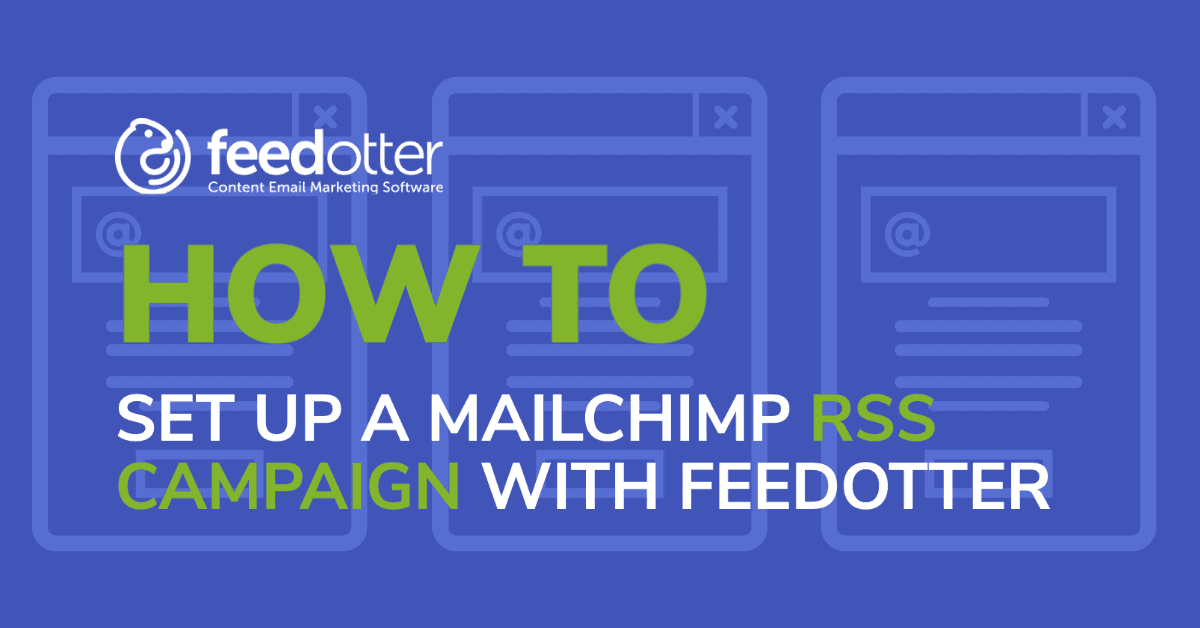
How to Set Up a MailChimp RSS Campaign with Feedotter
1. Sign in to Feedotter
The first (and most obvious) step is to sign in to your Feedotter account. Don’t have one? Not to worry, you can create one for free at app.feedotter.com. Once you’ve logged in, click “New Automated Email,” which will bring you to this screen:

From here, enter your campaign name, select MailChimp as your email provider, and click next.
2. Set up Your Sending Schedule
In this section, set up your sending schedule to whatever you want yours to be. I was creating a monthly blog digest, so I selected every month on the first at 9 a.m. ET, and made sure to check the box to rollover weekend sends to Friday or Monday to avoid being the pesky marketer who sends emails on the weekend.

Click ‘Save,’ and it’s onto the next step.
3. Add Your RSS Feed
In this section, you add your RSS feed and select how many posts you want to display, then click ‘Save’:

Not sure where or what your RSS feed is? Not to worry. When trying to find an RSS feed, start with the most common URLs for your page. Many websites have a feed tag that can be appended to the base URL. An example is any website built on WordPress where the RSS feed typically looks like this:
https://website.com/feed/
https://website.com/category/feed/
https://website.com/tag/feed/
Start there and if those options don’t work, check out these other ways to find your RSS feed URL. If that doesn’t work, reach out to us at success@feedotter.com.
4. Design Your MailChimp RSS Campaign
This section is the fun part. Set up your sender information, select the template you want to use from the template library, and then customize your campaign. Customization is done by clicking the Template sidebar and then clicking Properties. There you can add your brand colors, upload your brand logo, customize your CTAs, set your footer, social, UTMs, and more.
Once you’ve finished designing your MailChimp RSS campaign, send yourself a test email and/or get approval from other members of your team, and then move on to the next step.
5. Set up Your Integration

I was pleasantly surprised at just how easy setting up this integration was. Just click the ‘Connect to MailChimp’ button, then ‘Add a MailChimp Connection,’ then name your connection (I named mine MailChimp connection — simple and easy), then enter your MailChimp login credentials, and then click ‘Allow.’ That’s all you have to do!
Once your MailChimp is connected, the last remaining steps are to select the email campaign folder and the MailChimp list that you want the campaign to go to. Once that’s done, click ‘Activate,’ and you’re finished! Your MailChimp RSS campaign is scheduled and ready to send.
Happy Emailing!
I hope this walkthrough of creating a MailChimp RSS campaign with Feedotter was helpful and saves you as much time as it saved me. If you have any questions or issues, feel free to reach out to us at success@feedotter.com. We’re happy to help!