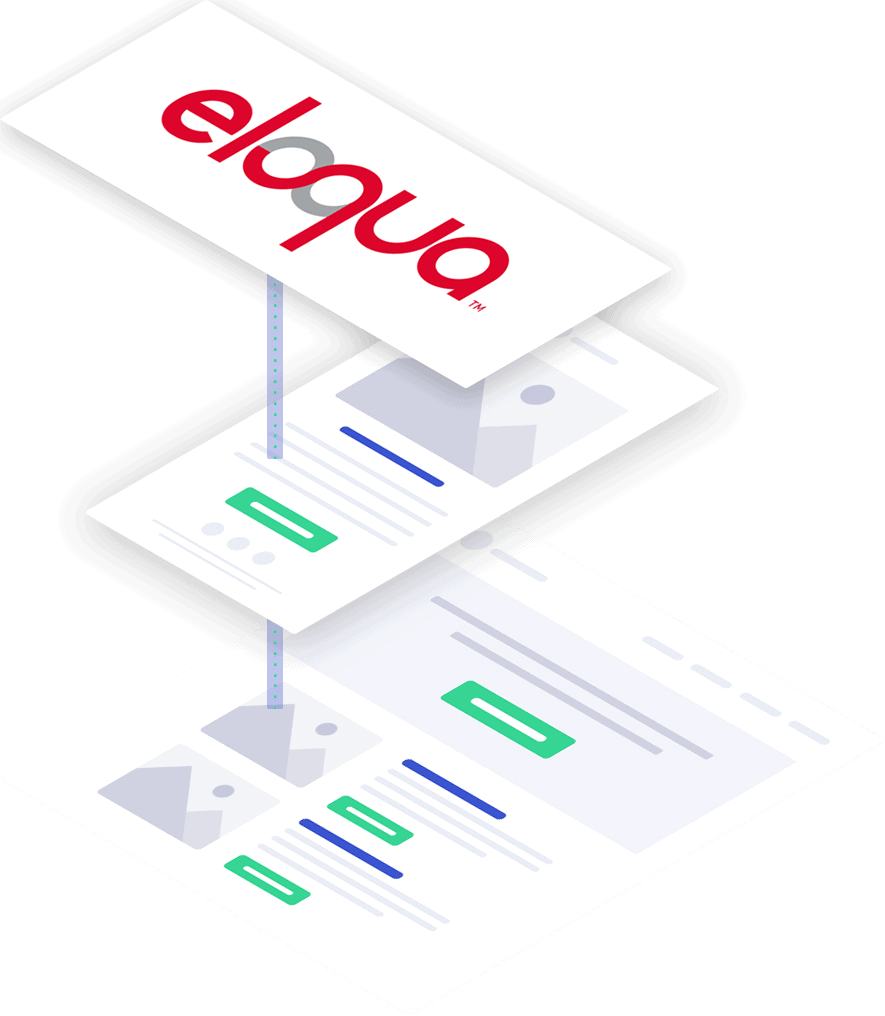
Eloqua RSS Email in FeedOtter allows your marketing automation, content, and email marketing teams to deliver time savings and automated content emails at scale.
Automate your editorial curation workflows
Eloqua remains the central space for all your email sends
Use subscriber preferences to send Eloqua newsletters to different lists
Email performance and link reporting work perfectly
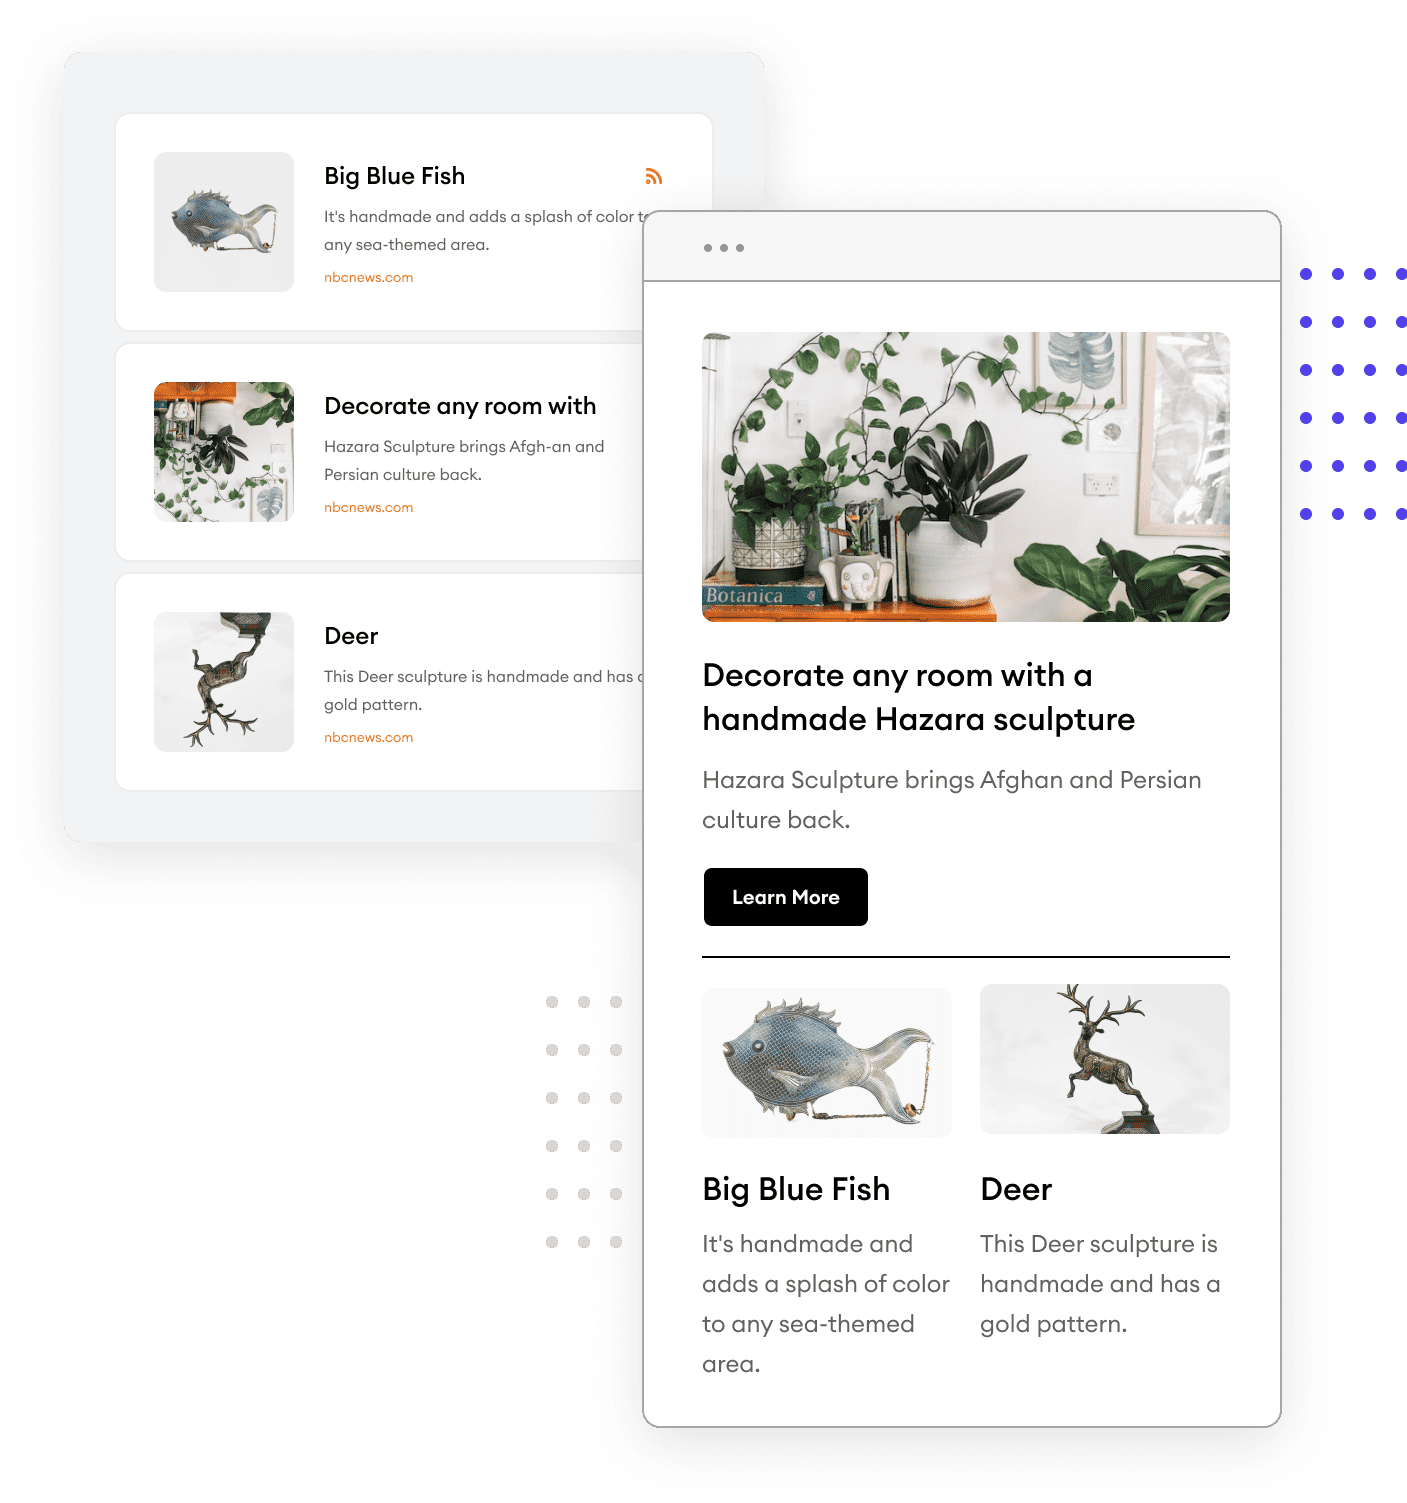
Send Eloqua RSS blog updates and digests automatically
In the modern marketing world, Google, Twitter, and LinkedIn continue to reduce content engagement and external linking keeping visitors on their site. As marketers we need audiences that we control and can reliably communicate with. A great solution to this is capturing subscribers on your blog and giving them options about how to receive content and communications.
While blog and RSS email are nothing new there is no better time to build or re-build your email lists and subscribers. Create great content and use your existing Eloqua marketing software to send content emails to the perfect audience at their preferred time.
Automate Eloqua RSS emails in minutes.
Set flexible sending schedules to deliver RSS email to Eloqua segments as content is published or on a schedule.
Completely hands-off automation.
Advanced features to automate emails with content from multiple RSS feeds and update emails on Eloqua Canvas automations.
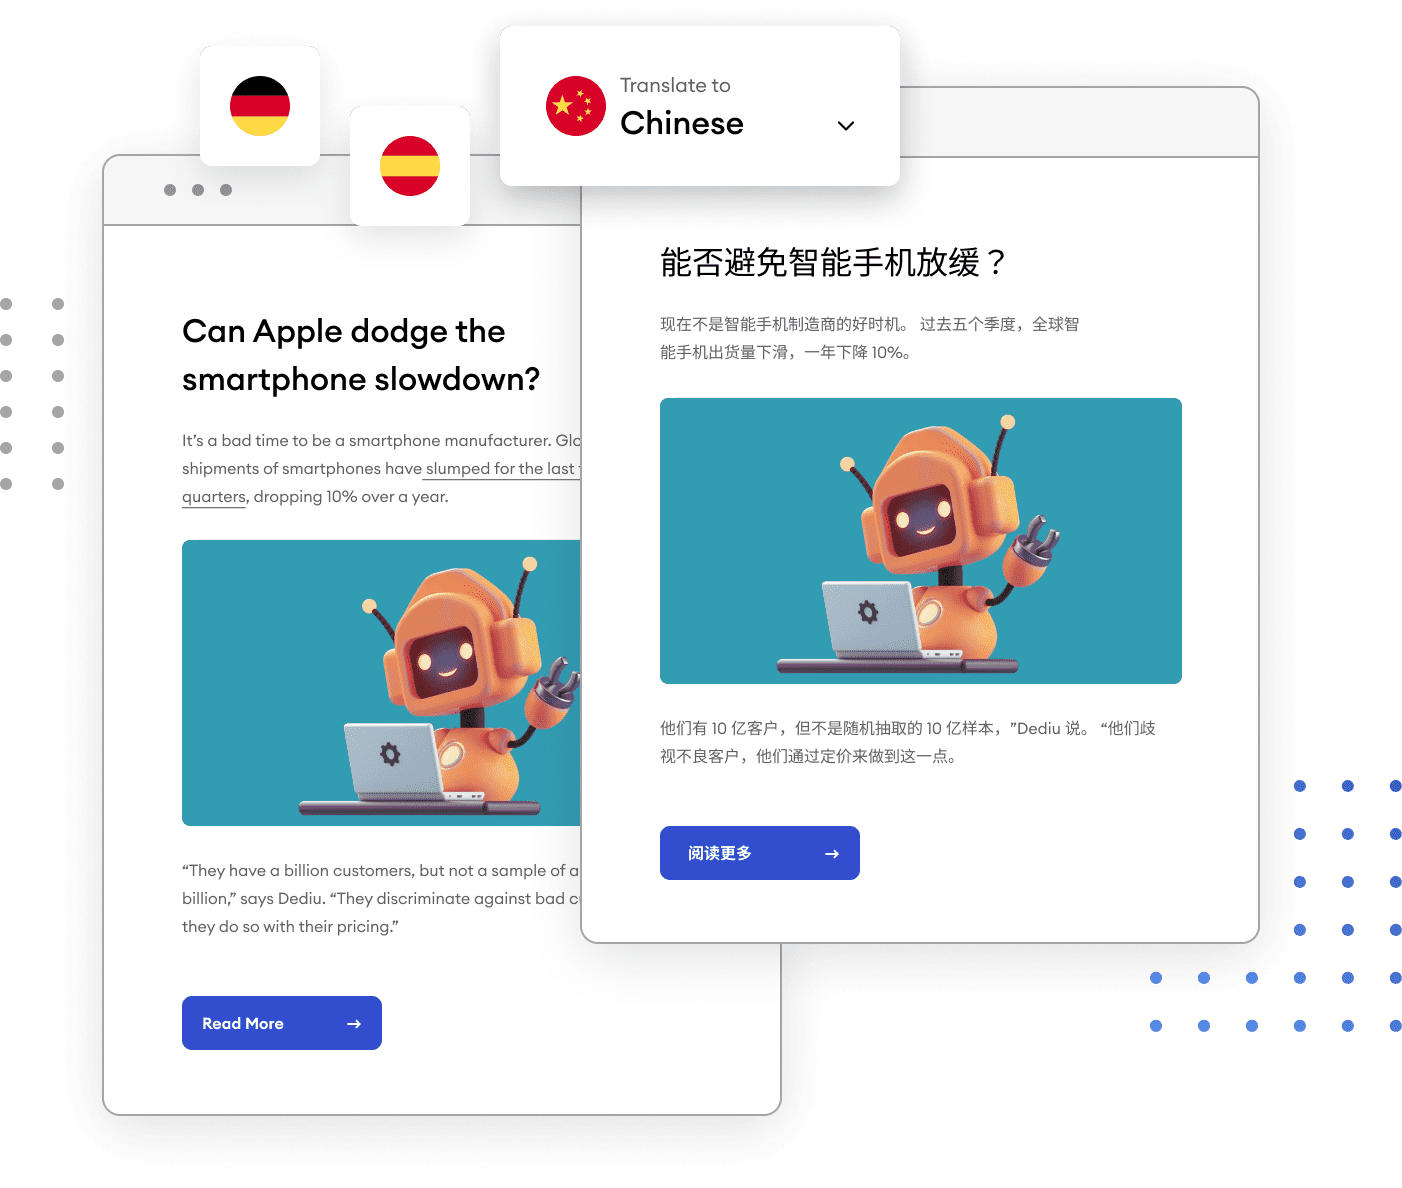
A use-case that we have seen multiple Eloqua RSS email customers implement is automating content in multiple languages.
If you operate a global company, offering subscribers the ability to receive content emails in their native language has been shown to increase email engagement by as much as 40%. For an Eloqua marketer this can be a daunting if not impossible task.
Our Eloqua RSS email solution allows you to construct automated campaigns that deliver content in multiple languages to different Eloqua segments without the need to create dozens of emails for each send.
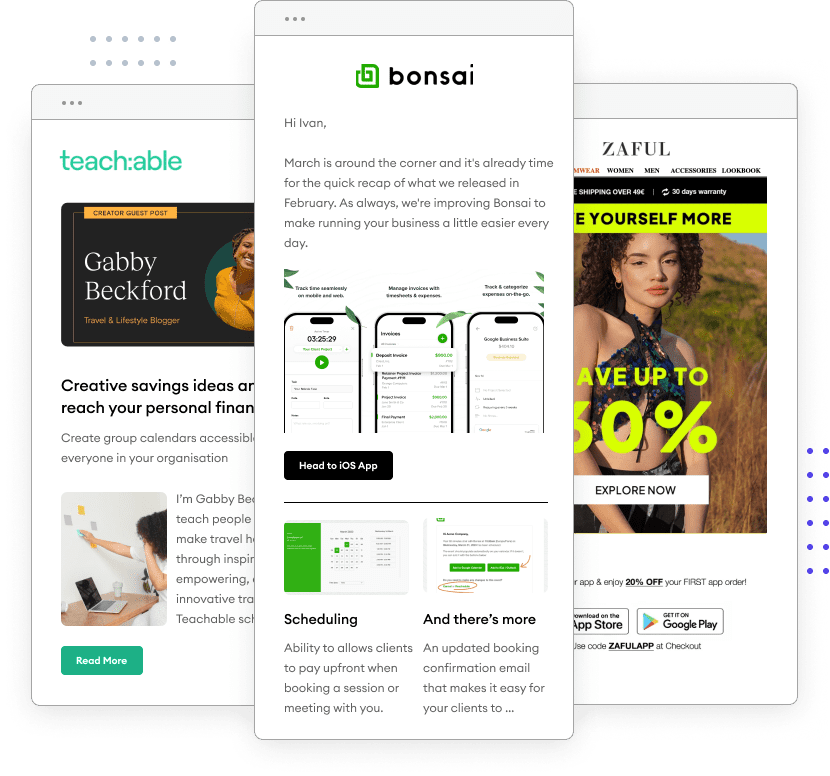
Are you a software company with regular release notes and updates that you need to email to customers, or employees? Would you like to keep your sales team informed of new content that marketing creates?
Our RSS email product allows you to automate the creation of emails containing content from GitHub, CMS, and in-house systems using the RSS standard.